Crochet is a timeless craft that brings a sense of calm and creative fulfilment, right from the first loop. At ELzinga Art picking up a crochet hook means joining a long tradition of making, inventing, and adding a splash of colour to daily life.
Whether one wants to create a simple coaster, a soft scarf, or a unique wall hanging, crochet offers endless possibilities.
Each project starts with a single slip knot and, with a little guidance, soon transforms into something uniquely meaningful.
For beginners or those wanting a friendly refresher, this step-by-step introduction aims to make the process unintimidating, enjoyable, and full of potential.
Crafting doesn’t need to be complicated—sometimes it just takes a gentle nudge and a toolkit of simple techniques to get started.
Choosing Yarn And Hooks For A Colourful Beginning
Before diving into techniques, understanding the basic materials helps set the stage for success. Yarn and crochet hooks are the two essentials. Start by going for a medium-weight yarn, often labelled as 8-ply or DK weight in Australia. These fibres are forgiving, easy to handle, and come in countless shades to reflect personal style.
When it comes to hooks, a size 4mm or 4.5mm crochet hook is ideal for beginners. Hooks can be made from bamboo, metal, or plastic—each with a distinct feel. Consider the texture and how it sits in your hand, especially if you plan on longer sessions of crafting.
For those just starting, consistency is more valuable than fancy materials. It helps to keep the first project small: think washcloths, granny squares, or bookmarks. Have ready:
One ball of medium-weight yarn
One 4mm or 4.5mm crochet hook
Small scissors
A yarn needle for weaving in loose ends
With materials ready, the next step is to learn a few foundational stitches.
Mastering Essential Stitches And Techniques
With yarn and hook in hand, there are three main techniques every beginner should know: the slip knot, chain stitch, and double crochet.
Slip knot: Begin by making a simple loop with the yarn. Pull a strand through the opening and tighten, sliding it onto the hook. This secures the yarn to start your project.
Chain stitch (ch): With the slip knot on the hook, wrap the yarn over the hook and pull it through the loop. Each pull creates a new stitch. Chains form the foundation of most crochet patterns.
Double crochet (dc): Yarn over and insert the hook into the chain. Yarn over again and pull through, so three loops are on your hook. Yarn over, pull through the first two loops, then yarn over and pull through the remaining two. You have now completed a double crochet.
Building confidence with these simple actions lays the groundwork for countless projects. Repetition is key, so don’t worry about imperfections. Mistakes can often add charm and serve as reminders of growth. As you stitch, watch the threads transform into rows and then shapes.
Now somtimes all that talk can just leave you confused so click the link provided below and check out this tutorial with video and ebook with pictures on how how to create those stitches. Its a great resource and free, just what we love at Elzinga Art and we highly recommend a look and maybe joining the club too while you're there!
Yep click this link, we think you'll love it.
Celebrate Finished Projects And Keep Exploring
There’s nothing quite like the feeling of seeing a finished crochet piece, a tangible result of patience and imagination. Every crafted square or stitched loop is a personal achievement. Crochet combines tradition with endless potential for expression—change the yarn, switch up the stitches, and discover what combination feels right.
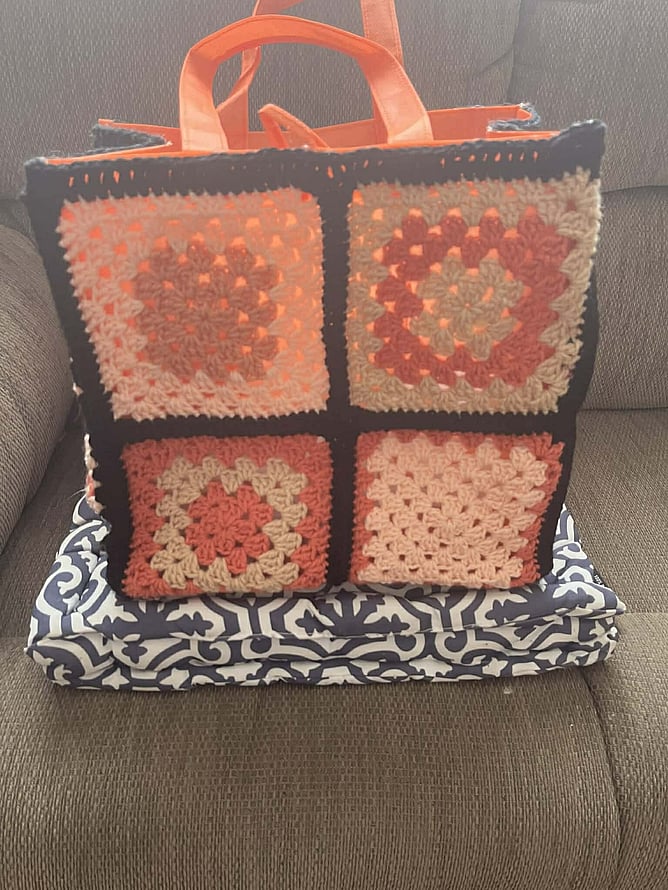
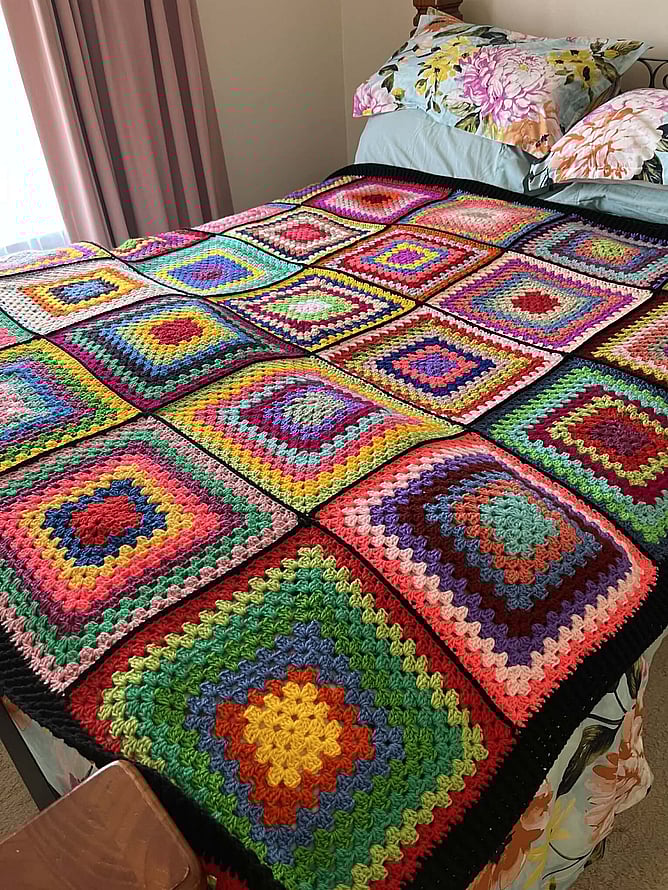
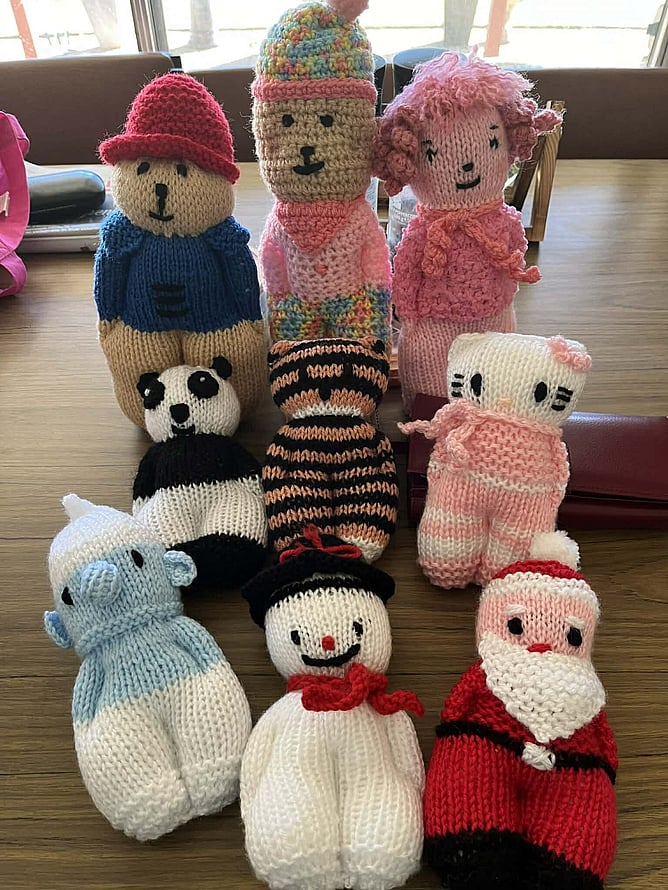
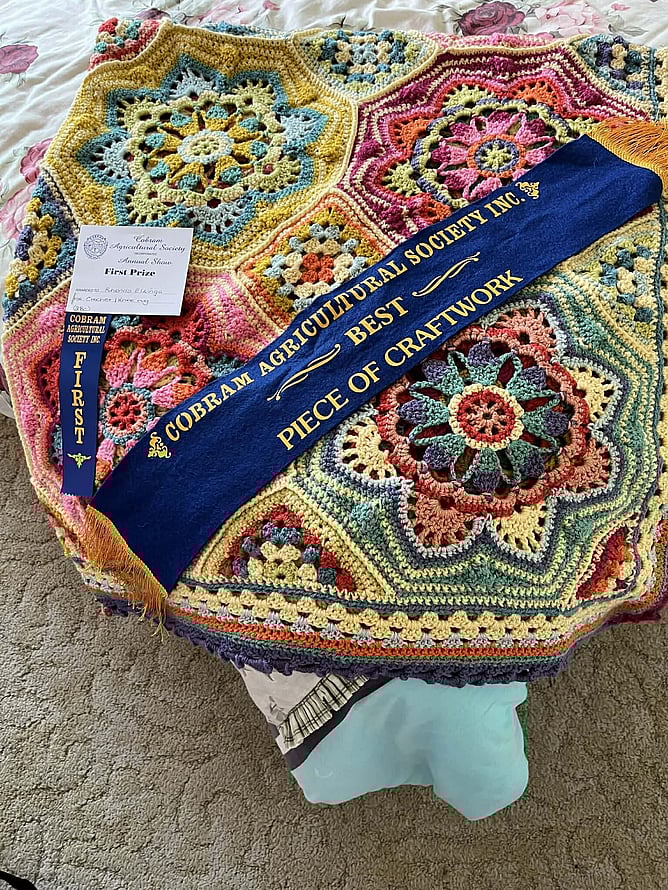
Let today’s simple project spark a curiosity that leads to scarves, toys, bags, or even bigger undertakings. Remember, behind every finished crochet piece is someone who decided to try, practised often, and learned something new along the way. Armed with new skills, anyone can bring their own vibrancy to everyday life, one colourful stitch at a time.
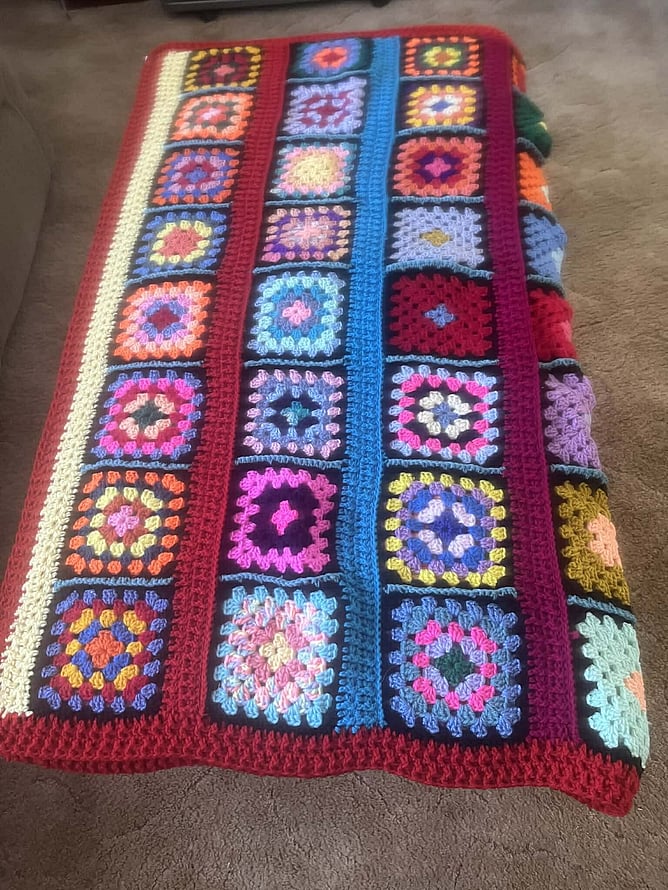
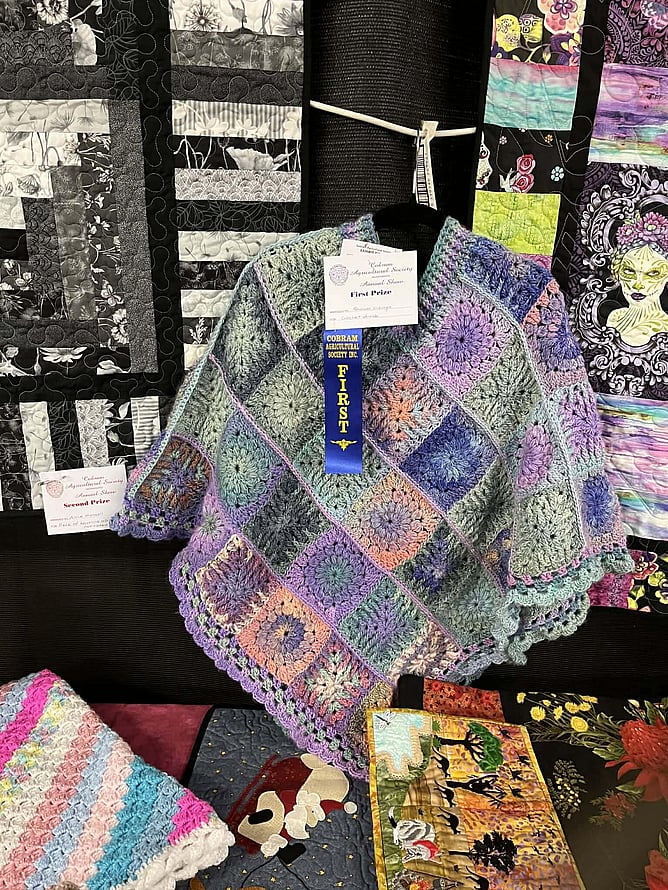
Maybe you'll even be a life long crocheting star like my mother Rhonda Elzinga, you made everything in this blog, thanks ma!
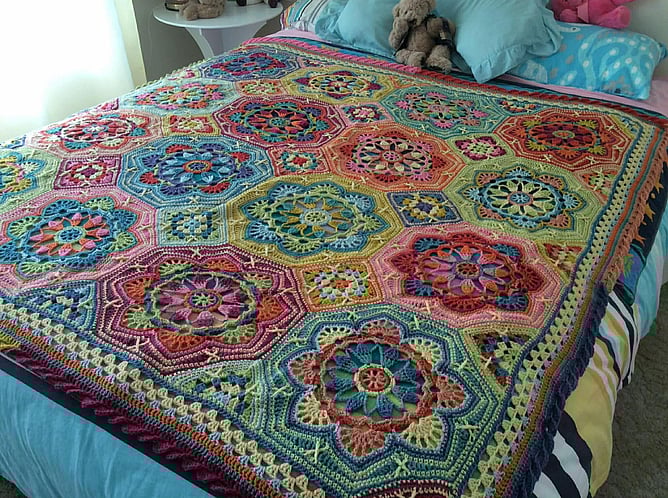
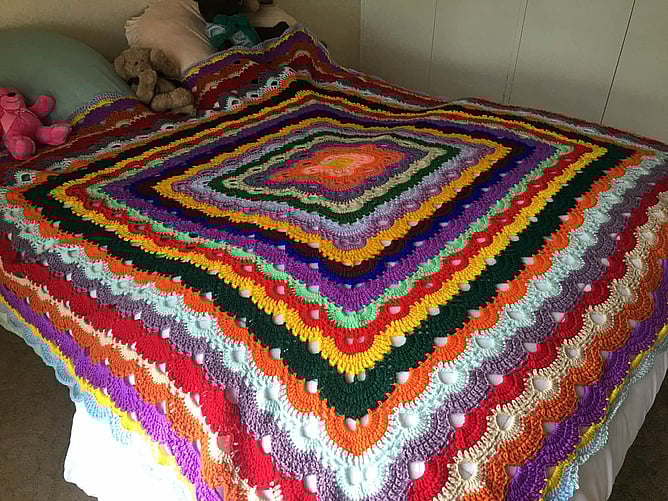
All pictures created by Rhonda Elzinga for Elzinga Art @ copyrighted)